Travelling with a Google Pixel 9 or Pixel 10 and want fast, reliable data without hunting for a local SIM? Good news: with Android 15, adding and managing eSIMs is quicker than ever. This guide shows exactly what to tap to install an eSIM on your Pixel 9/10, whether you’re scanning a QR code, entering an SM-DP+ address manually, or attempting an eSIM transfer from another device. We’ll also help you check if your phone is carrier-locked, set the right data/roaming preferences for travel, and fix common activation or connectivity issues.
If you’re still planning your trip, pick a plan by country or region from Simology’s Destinations – for example, Esim United States for the USA, Esim Western Europe for multiple EU countries, or country-specific options like Esim France, Esim Italy, and Esim Spain. Heading across borders? Esim North America covers the US, Canada, and more with one plan.
Before you begin: compatibility, lock status and prep
- Update first: Settings > System > System update. Android 15 (or the latest available) improves eSIM reliability.
- Check carrier lock:
- If your Pixel 9/10 was bought from a carrier, it may be locked. The simplest test is to insert a SIM from another carrier and see if calls/data work. Or contact your carrier to confirm it’s unlocked for international use.
- If locked, eSIM activation from other providers may fail until it’s unlocked.
- Find your EID (sometimes needed by support): Settings > About phone > EID.
- Have a stable internet connection (Wi‑Fi recommended) and at least 30% battery.
- Know your plan’s activation timing. Some travel eSIMs should be installed just before departure or on arrival; others can be installed early and activated later.
Pro tip: Save a copy of your QR code and/or SM-DP+ details in an offline note. If Wi‑Fi is patchy at the airport, you’ll still have the info handy.
Install an eSIM on Pixel 9/10 (Android 15)
There are three common methods. Start here: - Open Settings > Network & internet > SIMs. - Tap Add SIM. - Choose the option that matches your situation below.
Method A: Scan a QR code (most common)
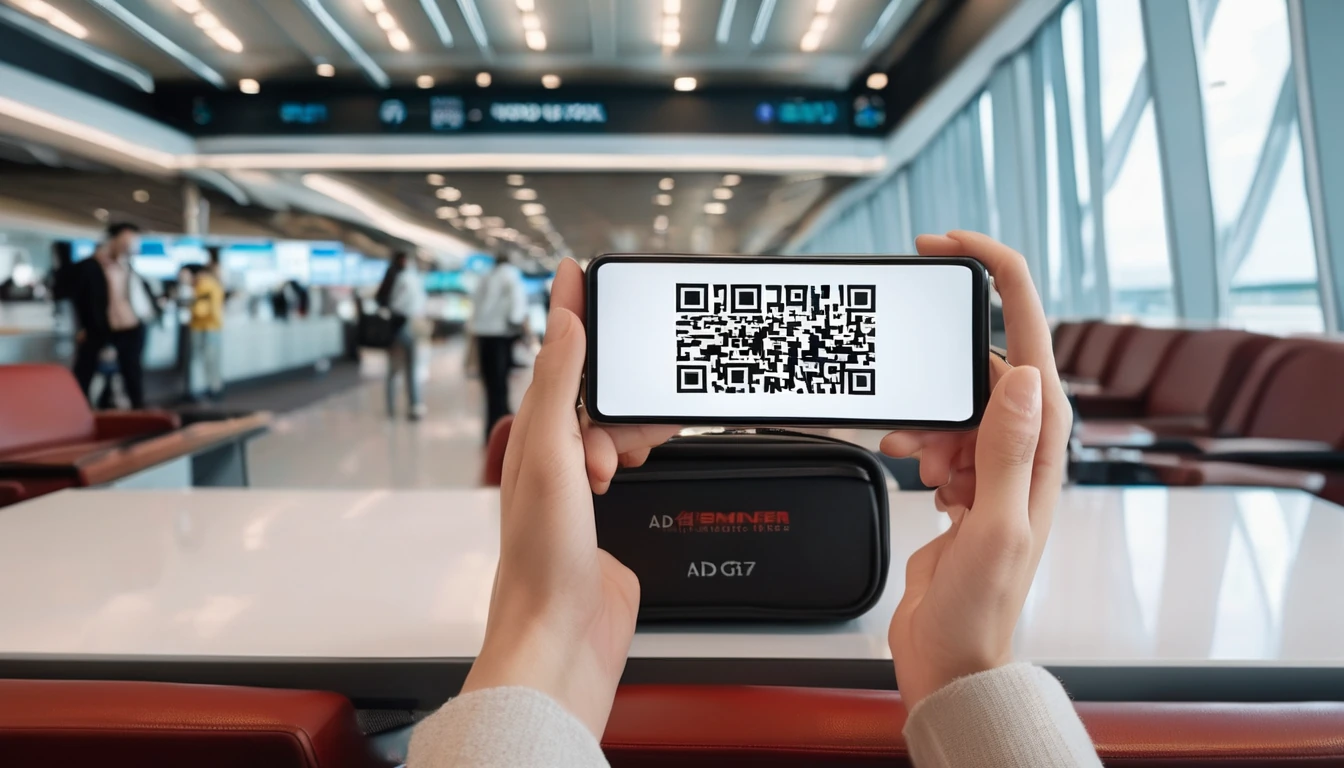
- On Add SIM, choose Scan QR code (or Use a downloaded SIM > Scan QR code).
- Point the camera at the QR your provider supplied. If it’s on the same phone, open it on another device or print it.
- When prompted, confirm Download SIM or Add.
- Name the SIM (e.g., “Simology EU”) for easy identification.
- If asked, choose a SIM for mobile data, calls and SMS (you can change this later).
- Toggle on Roaming for that eSIM if you’re travelling internationally.
Method B: Enter SM-DP+ details manually (no QR)
If your provider gave you an SM-DP+ address and activation code: 1. On Add SIM, tap Need help? or Can’t scan? Enter code manually (wording varies). 2. Enter: - SM-DP+ address (exactly as given) - Activation code (case-sensitive) - Confirmation code (only if requested) 3. Proceed to Download SIM, then set your data/call/SMS preferences.
What is SM-DP+? It’s the server that delivers your eSIM profile. Manual entry is handy if you can’t scan or if your provider supplies codes instead of QR.
Method C: Transfer your number from another device (carrier numbers)
For postpaid carrier numbers (not typical for travel eSIMs), some carriers support eSIM transfer: 1. On Add SIM, select Transfer SIM from another device (if shown). 2. Keep both phones unlocked, nearby and on Wi‑Fi. 3. Follow the on‑screen prompts on both devices to move the eSIM. 4. Note: Moving an eSIM usually deactivates it on the old phone. Not all carriers support this, and it rarely applies to roaming/travel eSIMs.
Set your data and dual‑SIM preferences (important for travel)
After installing the eSIM: - Choose data SIM: Settings > Network & internet > SIMs > Preferred SIM for mobile data > select your travel eSIM. - Turn on data roaming on the travel eSIM: SIMs > [your travel eSIM] > Roaming. - Calls and SMS: - Keep your home SIM for calls/SMS if you need to receive OTPs from banks. - Set call/SMS preference to “Ask every time” if you want control per call. - Avoid bill shock: - Disable data on your home SIM (SIMs > [home SIM] > Mobile data off). - Turn off roaming on the home SIM. - APN and 5G settings: - Most eSIMs auto‑configure APN and network mode. If data doesn’t work, check SIMs > [your travel eSIM] > Access Point Names. Add the APN provided by your eSIM supplier if none shows. - Try toggling 5G/4G (LTE): SIMs > [your travel eSIM] > Preferred network type. - Hotspot/tethering: - Settings > Network & internet > Hotspot & tethering. Ensure your plan allows hotspot use.
Pro tip: Give each SIM a clear label (SIMs > [SIM] > Edit) like “Home” and “Simology EU” to avoid using the wrong line.
Troubleshooting: Pixel eSIM won’t activate or connect
1) Can’t download/activate the eSIM profile
Common causes: - No or unstable Wi‑Fi/mobile data during download. - Wrong SM-DP+ or activation code; extra spaces or case errors. - Carrier lock still active. - eSIM has already been installed on another device or exceeded download limits. - Date/time not set to automatic, causing certificate errors.
Fixes to try: - Use a strong Wi‑Fi network. Turn off VPN during activation. - Double‑check the SM-DP+ address, activation code and confirmation code. Type carefully. - Restart your Pixel. - Set date/time to automatic: Settings > System > Date & time > Use network-provided time. - If your eSIM is EID‑locked by the provider, confirm the EID in Settings > About phone > EID matches what you supplied. - If you suspect a carrier lock, contact your original carrier to unlock the device for use with other carriers. - Remove any partially downloaded eSIM (SIMs > [problem eSIM] > Delete) and try again.
2) eSIM installed but no signal or “No service”
- Ensure the line is turned on: SIMs > [your travel eSIM] > Use SIM = On.
- Data SIM set correctly: Preferred SIM for mobile data > your travel eSIM.
- Turn on data roaming for the travel eSIM.
- Toggle airplane mode on, wait 10 seconds, then off.
- Try network mode changes: 5G > 4G (LTE) > 3G if available.
- Disable “Automatically switch data” if the phone keeps flipping to your home SIM.
3) Data issues: connected to network but no internet
- Check APN: SIMs > [your travel eSIM] > Access Point Names. Add or select the APN given by your provider.
- Reset network settings: Settings > System > Reset options > Reset Wi‑Fi, mobile & Bluetooth. Then reboot and re‑enable the eSIM.
- Turn off VPN, Private DNS (Settings > Network & internet > Private DNS > Off), and any firewall apps temporarily.
- Wait a few minutes after landing; roaming registration can take time.
4) Calls/SMS not working as expected (dual‑SIM)
- Ensure calls/SMS are assigned to the correct SIM: SIMs > Preferred SIMs > Calls/SMS.
- If RCS/Chat messages misbehave, disable and re‑enable RCS in Messages > Settings > RCS chats.
- Some travel eSIMs are data‑only. Use apps (WhatsApp, FaceTime audio, etc.) for calls/messages, or keep your home SIM active for SMS/OTP.
5) Still stuck?
- Power cycle: fully power off, wait 20 seconds, power on.
- Try the install again via the alternate method (QR vs SM-DP+ manual).
- Contact your eSIM provider with your order number, EID, IMEI (Settings > About phone), and screenshots of any error messages.
Pro tips for travellers using Pixel eSIM
- Install before you fly: Download the eSIM profile at home on strong Wi‑Fi, but switch data to it only when you land (if your plan timing allows).
- Keep your home SIM for SMS only: Turn off data and roaming on your home SIM to avoid surprise charges, but receive OTPs if needed.
- Offline copies: Save QR/SM-DP+ details and support contacts in an offline note or PDF.
- Use hotspot wisely: Pixel hotspot works well; check your plan’s tethering allowance.
- Battery and radios: If speeds dip, toggle airplane mode or 5G/4G, or move to clearer coverage (indoors can reduce 5G performance).
Choosing the right Simology eSIM
- Not sure where to start? Browse by region or country on Destinations.
- USA trip: pick Esim United States.
- Multi‑country Europe: go with Esim Western Europe.
For single‑country plans: Esim France, Esim Italy, Esim Spain. - North America hops (US, Canada, Mexico): choose Esim North America.
- Managing teams on the road? Centralised purchasing and billing are available For Business.
- Building travel products or bundles? Partner with us via the Partner Hub.
FAQ
- Can Pixel 9/10 use more than one eSIM? Yes. You can store multiple eSIM profiles and switch between them. Only one line can be active for mobile data at a time, and voice/SMS options depend on your device/carrier features.
- Do I need Wi‑Fi to install an eSIM? Strong Wi‑Fi is recommended for the initial download and activation. Some activations work on mobile data, but Wi‑Fi avoids dropouts and captive portals.
- What’s the difference between QR and SM‑DP+ manual entry? Both install the same eSIM profile. The QR simply encodes the SM-DP+ address and activation code. Manual entry is useful if you can’t scan.
- How do I know if my Pixel is carrier‑locked? If you bought from a carrier, it may be locked. Test with a SIM from another carrier or contact your carrier to confirm/unlock. A lock can block third‑party eSIM activation.
- Can I move my travel eSIM to another phone? Usually not. For security, many eSIMs are single‑device. Ask your provider about a reissue if you change devices. Carrier number eSIMs may support official transfer.
- My eSIM shows “Connected” but no internet. What now? Set the travel eSIM as your data SIM, enable data roaming, verify APN, toggle 5G/4G, disable VPN/Private DNS, and reboot. If still failing, reset network settings and re‑add the eSIM.
Next step: pick your plan by country or region on Simology’s Destinations, then follow the steps above to install on your Pixel 9/10. Safe travels.


