
Which Google Pixel Models Support eSIM?
All Google Pixel 9 and Pixel 10 series devices ship with built-in eSIM hardware, so there's no need to buy a special variant or unlock a hidden feature. The Pixel 9, 9 Pro, 9 Pro XL, 9 Pro Fold, 10, and 10 Pro all support at least two active eSIM profiles simultaneously — meaning you can keep your home SIM running while a travel eSIM handles local data abroad.
According to the GSMA, eSIM adoption has accelerated sharply since 2022, with over 2 billion eSIM-capable devices now in active use worldwide as of 2025. Google has been a particularly strong driver of that growth — every Pixel since the Pixel 2 has included eSIM support, and the Pixel 9 and 10 generations refine the experience with Android's native eSIM management UI.
Quotable fact: The GSMA estimates that by 2030, eSIM will be the default connectivity standard in more than 90% of new flagship smartphones globally.
Here's a quick compatibility overview for the current Pixel lineup:
| Device | eSIM Support | Dual SIM (eSIM + Physical) | Max eSIM Profiles Stored |
|---|---|---|---|
| Pixel 10 Pro | ✅ Yes | ✅ Yes | Multiple (inactive stored) |
| Pixel 10 | ✅ Yes | ✅ Yes | Multiple (inactive stored) |
| Pixel 9 Pro XL | ✅ Yes | ✅ Yes | Multiple (inactive stored) |
| Pixel 9 Pro | ✅ Yes | ✅ Yes | Multiple (inactive stored) |
| Pixel 9 Pro Fold | ✅ Yes | ✅ Yes | Multiple (inactive stored) |
| Pixel 9 | ✅ Yes | ✅ Yes | Multiple (inactive stored) |
One important caveat: carrier-locked Pixels purchased directly from a carrier (rather than from Google's own store) may restrict eSIM profile switching. If you bought your phone outright or from Google directly, you're almost certainly unlocked. If you're unsure, check Settings → About Phone → SIM Status, or contact your carrier.
How Do You Add an eSIM to a Google Pixel 9 or 10?
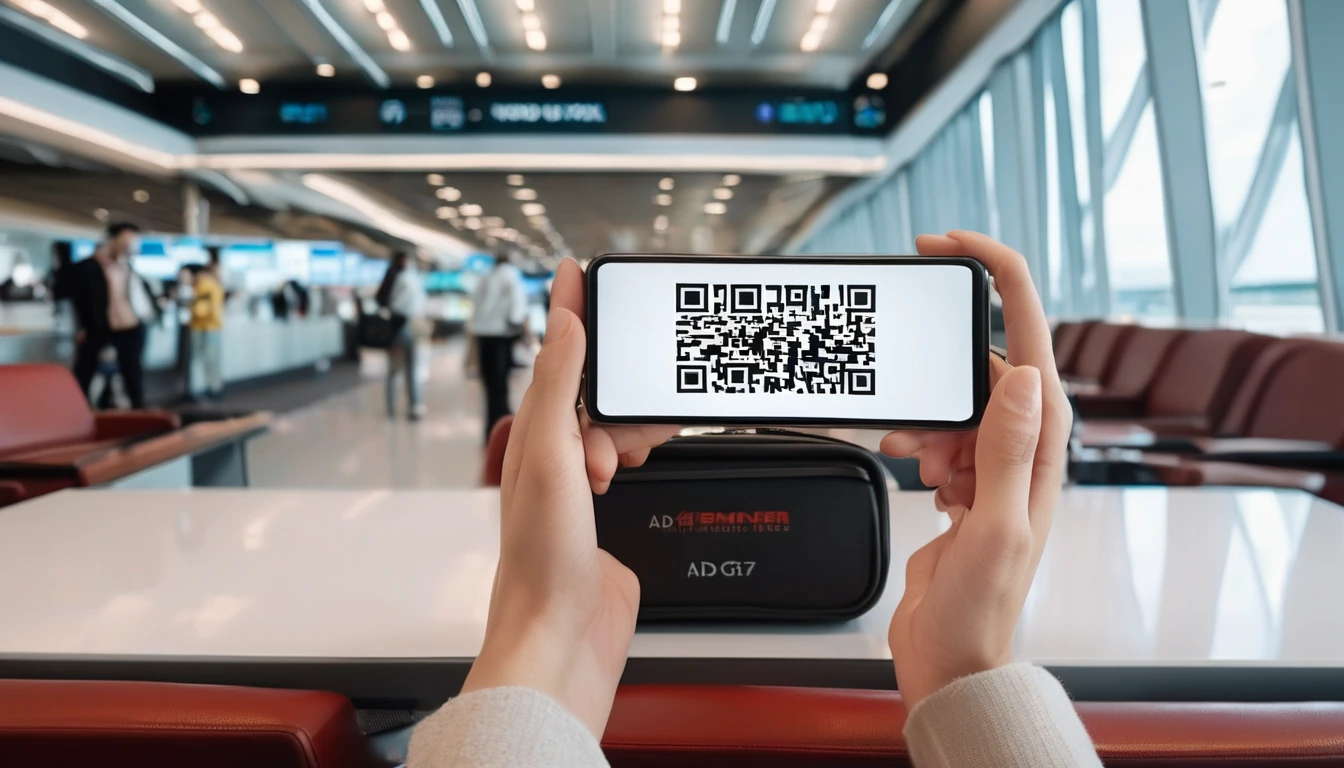
Adding an eSIM to your Pixel 9 or 10 takes under five minutes. The most common method is scanning a QR code provided by your eSIM provider — you'll need a stable Wi-Fi connection for the initial download, but once the profile is installed, it works entirely independently of Wi-Fi.
Method 1: Scan a QR Code (Recommended)
This is the fastest and most reliable approach for travel eSIMs like those from Simology.
- Purchase your eSIM plan from your provider and receive the QR code by email or in-app.
- On your Pixel, open Settings → Network & Internet → SIMs.
- Tap Add eSIM (or the + icon).
- Select Scan QR code.
- Point your camera at the QR code. The profile will download automatically.
- Tap Activate and follow the on-screen prompts.
- When asked, choose whether this eSIM should handle calls, SMS, and/or data — for a travel data eSIM, select Data only, and keep your home SIM for calls and texts.
Pro tip: If you need to scan the QR code on the same device displaying it (e.g., you received it by email on your Pixel), take a screenshot first, then use the Enter code manually option — or forward the QR image to a second device and scan from there.
Method 2: Enter the Activation Code Manually
Some providers supply a text-based activation code (SM-DP+ address + activation code) instead of a QR code.
- Go to Settings → Network & Internet → SIMs → Add eSIM.
- Tap Enter code manually (or "Don't have a QR code?" depending on your Android version).
- Type or paste the SM-DP+ address and activation code exactly as provided.
- Tap Connect and wait for the profile to download.
Method 3: Google Pixel eSIM Transfer (Device-to-Device)
If you're upgrading from an older Pixel, Android's built-in Device Transfer tool can migrate eSIM profiles without needing a new QR code — provided your carrier supports remote SIM provisioning transfer. During the initial setup wizard on your new Pixel, follow the Copy apps & data → Use a cable or Wi-Fi flow and select which SIMs to transfer.
How Do You Manage Multiple eSIMs on a Pixel 9 or 10?
Your Pixel 9 or 10 can store multiple eSIM profiles and let you switch between them without re-downloading. This is especially useful for frequent travelers who visit the same regions regularly — you can pre-load eSIMs for Japan, Europe, and the US, then activate whichever you need with a couple of taps.
To manage your eSIMs:
- View all profiles: Settings → Network & Internet → SIMs
- Switch active eSIM: Tap the profile you want, then toggle it on
- Rename a profile: Tap the profile → pencil icon → type a custom name (e.g., "Europe Trip 2026")
- Delete a profile: Tap the profile → Delete eSIM (note: most travel eSIMs are single-use once deleted — check your provider's policy before removing)
- Set default SIM for data: Settings → Network & Internet → SIMs → Data preference → choose your travel eSIM when abroad
Dual SIM Setup for Travelers
The most practical configuration for international travel is:
- Physical SIM (Slot 1): Your home carrier SIM — handles calls and SMS so contacts can still reach you on your regular number
- eSIM: Your travel data plan — handles all mobile data while you're abroad, avoiding roaming charges entirely
This dual-SIM setup means you get the best of both worlds: local data rates without missing calls or texts from home. If you're heading somewhere like Japan, for example, you can pair your home SIM with a Japan eSIM for seamless connectivity without a single trip to a SIM kiosk.
How Do You Activate Your eSIM When You Land?
If you've pre-installed a travel eSIM before departure (which is the recommended approach), activating it when you land is straightforward. Most travel eSIMs activate automatically once they detect a compatible local network — but here's how to confirm everything is working.
- Turn off Airplane Mode after landing (or toggle it off and back on to force a network scan).
- Go to Settings → Network & Internet → SIMs and confirm your travel eSIM is toggled on.
- Check that Mobile data is enabled for the travel eSIM profile.
- Open a browser or app to confirm data is flowing.
If you're traveling somewhere with multiple network options — like Southeast Asia or the EU — your Pixel will typically auto-select the strongest available network. For destinations like Thailand or Vietnam, where local networks can vary by region, this automatic selection works well in practice.
Do You Need Wi-Fi to Activate a Travel eSIM?
You need Wi-Fi (or mobile data from another SIM) only to download the eSIM profile for the first time. Once the profile is installed on your device, it activates over the local cellular network — no internet connection required. This is why installing your eSIM before you travel (at home, on your home Wi-Fi) is always the better choice.
What Are the Most Common eSIM Problems on Pixel 9/10 — and How Do You Fix Them?
Even on a modern Pixel, eSIM setup doesn't always go smoothly. The good news is that most issues have simple fixes. Below are the problems travelers report most often, along with step-by-step solutions.
Problem 1: "eSIM Download Failed" or QR Code Not Scanning
Fix:
- Ensure you have a stable Wi-Fi connection (not a captive portal like a hotel Wi-Fi that requires a login).
- Clean the camera lens and hold the QR code steady in good lighting.
- If the QR code is on your phone screen, increase screen brightness to maximum and reduce glare.
- Try entering the activation code manually instead of scanning.
- Restart your Pixel and try again — a fresh start clears temporary network state issues.
Problem 2: eSIM Shows "No Service" After Installation
Fix:
- Toggle Airplane Mode on, wait 15 seconds, then toggle it off.
- Go to Settings → Network & Internet → SIMs → [your travel eSIM] → Network operators → Search manually. Select the correct network.
- Confirm your travel eSIM profile is set as the Data SIM in Settings → Network & Internet → SIMs → Data preference.
- Check that your plan has actually started (some plans activate on first use in the destination country, not on purchase).
For a deeper dive into this specific issue, the guide on eSIM stuck on "Activating" on Android covers 12 targeted fixes that apply directly to Pixel devices.
Problem 3: eSIM Installed But No Mobile Data
Fix:
- Verify that Mobile data is enabled for the eSIM profile: Settings → Network & Internet → SIMs → [travel eSIM] → Mobile data toggle ON.
- Check the APN settings. Most travel eSIMs configure APNs automatically, but occasionally you'll need to enter them manually. Your provider should list the correct APN in their setup documentation.
- Make sure Data Roaming is enabled if your plan requires it: Settings → Network & Internet → SIMs → [travel eSIM] → Roaming toggle ON.
- Restart the device.
Problem 4: eSIM Not Showing in Settings
Fix:
- Confirm your Pixel is running Android 12 or later (Settings → About Phone → Android version). Older Android versions have limited eSIM UI support.
- Check that your device is not carrier-locked to a provider that restricts third-party eSIMs.
- If you just performed a factory reset, note that eSIM profiles are erased during a factory reset — you'll need to re-download from your provider.
Problem 5: Can't Add a New eSIM — "Limit Reached" Error
Your Pixel stores multiple eSIM profiles, but there is a practical limit on how many can be stored simultaneously (the exact number varies by Android version and device firmware). If you hit this limit:
- Delete unused eSIM profiles: Settings → Network & Internet → SIMs → [old profile] → Delete eSIM.
- Before deleting, verify with your provider whether the profile can be re-downloaded — most reputable travel eSIM providers allow at least one re-download.
For a comprehensive list of fixes that covers both Pixel and other Android devices, the eSIM not working guide covering 15 common fixes is worth bookmarking before your trip.
How Does eSIM Setup on Pixel Compare to iPhone?
Both platforms now offer polished eSIM experiences, but there are meaningful differences in how they handle profile management, carrier restrictions, and the setup flow.
| Feature | Google Pixel 9/10 | iPhone 15/16 |
|---|---|---|
| eSIM setup location | Settings → Network & Internet → SIMs | Settings → Cellular → Add eSIM |
| QR code scanning | Built-in camera | Built-in camera |
| Manual code entry | Yes | Yes |
| Stored profiles | Multiple (inactive) | Multiple (inactive) |
| Dual eSIM (two active) | Yes (Pixel 9/10) | Yes (iPhone 15/16) |
| eSIM-only mode | Supported | Supported (US iPhone 14+) |
| Device transfer | Yes (Android Transfer) | Yes (Quick Transfer) |
| Carrier lock risk | Yes (carrier-purchased units) | Yes (carrier-purchased units) |
| APN auto-config | Usually automatic | Usually automatic |
If you use an iPhone alongside your Pixel, the eSIM setup guide for iPhone 15/16 walks through the equivalent steps with iOS-specific troubleshooting.
Is Your Pixel 9 or 10 Unlocked for Travel eSIMs?
Your Pixel needs to be SIM-unlocked to use a third-party travel eSIM. Pixels purchased directly from the Google Store are sold unlocked in most markets. Carrier-purchased Pixels (from a US carrier, for example) may be locked for a period — typically 60 to 365 days depending on the carrier's policy — after which they unlock automatically.
To check your unlock status:
- Go to Settings → About Phone → SIM Status.
- Look for "SIM Lock Status" — it should say Not locked or Permanently unlocked.
- Alternatively, insert a SIM from a different carrier. If it works, you're unlocked.
If your Pixel is still locked, contact your carrier directly to request an unlock — most carriers will unlock devices that have been active on their network for the required period and are not under a payment plan.
For travelers planning to use eSIMs across multiple regions — say, a Western Europe trip followed by Southeast Asia — confirming your device is unlocked before departure is an essential first step. Nothing is worse than discovering a lock issue at the airport.
How Do You Transfer an eSIM to a New Pixel?
Upgrading to a Pixel 10 from an older Pixel? eSIM transfer is possible, but the process depends on whether your eSIM provider supports remote profile transfer.
For carrier eSIMs (your home network):
- During Pixel 10 initial setup, use Copy data from old device and select which SIMs to transfer. Your carrier's eSIM profile migrates automatically if the carrier supports it.
- Alternatively, contact your carrier to issue a new eSIM QR code for your new device.
For travel eSIMs (third-party providers like Simology):
- Most travel eSIM providers issue a single-use QR code. Once downloaded to your old device, you cannot simply re-scan it on a new device.
- Contact your provider's support before factory-resetting or selling your old phone — they can often reissue the QR code or transfer the remaining data balance.
The full process for moving eSIM profiles between Android devices — including Pixels, Samsung, and OnePlus — is covered in detail in the guide to moving eSIM to a new Android phone.
What Should You Know About eSIM Data Plans for Pixel Travelers in 2026?
Travel eSIMs have become significantly more affordable and flexible since their early days. In 2026, a typical 1 GB data plan for a popular destination starts around $3–$6 USD, while 10 GB regional plans covering multiple countries run roughly $15–$30 USD — a fraction of what international roaming charges would cost.
A 2024 report by GSMA Intelligence found that travelers who use local data solutions (eSIM or physical local SIM) spend on average 73% less on mobile data than those relying on home-carrier roaming packages. That gap has widened further as eSIM competition has increased.
When choosing a plan for your Pixel, consider:
- Coverage network: Ensure the eSIM connects to major local networks in your destination, not just a single operator.
- Data speed: Look for plans that specify 4G LTE or 5G — some budget plans throttle to 3G after a threshold.
- Validity period: Match the plan length to your trip. A 7-day plan that expires while you're still abroad is a common and avoidable mistake.
- Regional vs. country-specific: If you're visiting multiple countries, a regional plan (e.g., Asia eSIM) often works out cheaper and simpler than buying separate country plans.
- Top-up options: Check whether your provider allows mid-trip top-ups if you run out of data.
For travelers heading to India specifically, the setup process and plan landscape has some unique considerations — the complete eSIM guide for India in 2026 covers everything from registration requirements to the best plan tiers.
FAQ
Does the Google Pixel 9 support eSIM?
Yes, every model in the Google Pixel 9 series — including the Pixel 9, 9 Pro, 9 Pro XL, and 9 Pro Fold — supports eSIM. All models can store multiple eSIM profiles and run dual SIM (one physical SIM plus one active eSIM) simultaneously. You don't need a special version of the phone; eSIM is built into every unit sold globally.
Does the Google Pixel 10 support eSIM?
Yes, the Pixel 10 and Pixel 10 Pro both include full eSIM support. Like the Pixel 9 series, they support dual SIM operation and can store multiple inactive eSIM profiles that you can switch between without re-downloading. The setup process is identical to the Pixel 9.
How do I add an eSIM to my Pixel 9 or 10?
Go to Settings → Network & Internet → SIMs → Add eSIM, then scan the QR code provided by your eSIM provider. Alternatively, tap "Enter code manually" and type the SM-DP+ address and activation code. You'll need a Wi-Fi connection to download the profile, but once installed it works over the cellular network independently.
Why is my eSIM not working on my Pixel after installation?
The most common causes are: the eSIM profile is installed but not set as the active data SIM, Data Roaming is disabled, or the APN settings haven't configured correctly. Go to Settings → Network & Internet → SIMs, confirm your travel eSIM is toggled on and set as the data preference, then toggle Airplane Mode off and on to force a fresh network connection. If the issue persists, check the full Android eSIM troubleshooting guide for 12 targeted fixes.
Can I use two eSIMs at the same time on a Pixel 9 or 10?
The Pixel 9 and 10 support dual SIM — but in practice this means one physical SIM and one active eSIM running simultaneously, or two active eSIMs if your device is in eSIM-only mode. You can store many more profiles in an inactive state and switch between them freely. For travel, the most common setup is keeping your home carrier SIM active for calls while the travel eSIM handles data.
Will my Pixel eSIM work if I do a factory reset?
No — a factory reset erases all eSIM profiles stored on the device. Before resetting, either transfer your eSIM profiles to a new device using Android's device transfer tool, or contact your eSIM provider to request a re-issue of the QR code. Most travel eSIM providers can reissue codes for unused or partially used plans, but policies vary.
Do I need to be in the destination country to activate my travel eSIM?
No. You can — and should — download and install your travel eSIM before you leave home, using your home Wi-Fi. The eSIM profile will sit inactive on your Pixel until you arrive at your destination, at which point it either activates automatically when it detects a local network, or you manually enable it in Settings. Installing it at home eliminates any risk of activation issues at the airport.
How do I check if my Pixel is unlocked for third-party eSIMs?
Go to Settings → About Phone → SIM Status and look for "SIM Lock Status." It should read "Not locked" or "Permanently unlocked." If it shows a locked status, contact your carrier — most will unlock your device after the required service period (typically 60–365 days depending on the carrier), and the unlock is free of charge.
The Bottom Line: eSIM on Pixel 9/10 Is Genuinely Travel-Ready
Google's Pixel 9 and 10 series represent some of the most eSIM-friendly Android hardware available in 2026. The setup is fast, the dual-SIM management is intuitive, and the ability to pre-load multiple travel profiles means you can be connected the moment you step off a plane — whether that's in Tokyo, London, or Bangkok.
The key steps to remember: verify your Pixel is unlocked, install your travel eSIM at home over Wi-Fi before departure, set it as your data SIM, and enable roaming if your plan requires it. Most issues travelers encounter come down to one of those four steps being missed.
If you're still deciding which plan to get, Simology offers eSIM plans for 190+ countries — from single-country options to broad regional plans covering all of Asia or Western Europe. Browse the destination that matches your next trip and you'll be connected before you even pack your bags.