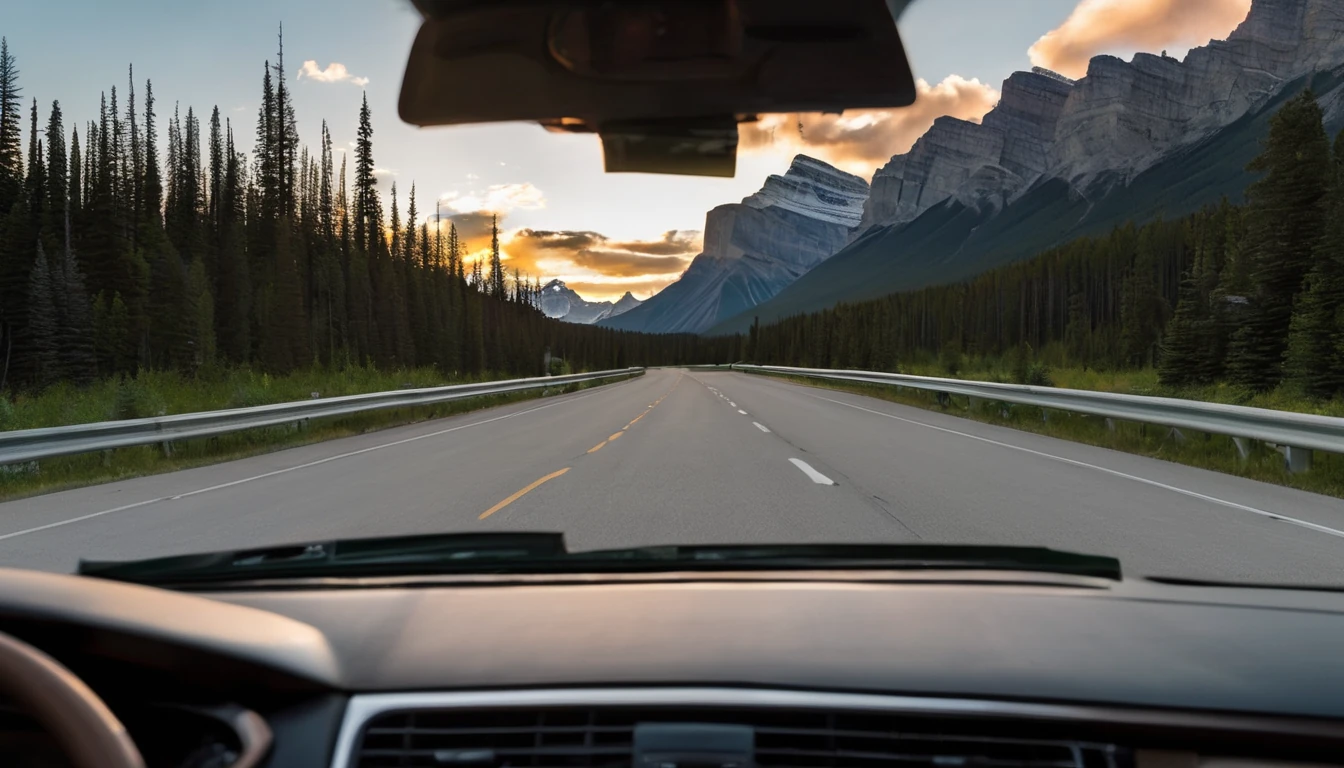
This us canada road trip itinerary stitches together Pacific city vibes, alpine highways and big-mountain national parks in one neat arc from Seattle to Vancouver, then inland to Banff and Calgary. Expect three border environments in a single trip: urban 5G cores, forested highways with spotty service, and mountain passes where your phone will drop to “No Service” between towns. The key to a stress-free drive is planning your connectivity as carefully as your fuel stops: set up a cross‑border eSIM before you start, know when to toggle roaming, and configure a reliable in‑car hotspot so everyone stays connected even when one phone loses signal. Below you’ll find a practical route, realistic drive times, the best windows to go, and hands‑on telecom tips (including mountain coverage workarounds) tailored to this exact corridor. If you’re travelling as a pair, family, or convoy, we’ve added steps and checklists to make hand‑offs at the border and in the Rockies simple.
Who this itinerary suits and when to go
- Best for: First‑time visitors, photographers, hikers, road‑trippers who want cities + mountains without backtracking.
- Ideal season: Late May to early October for clear roads and long daylight. Winter is beautiful but brings snow/ice and intermittent closures; confirm vehicle/tyre requirements in WA/BC/AB.
- Pace: 7–12 days. Add nights in Vancouver and Banff if hiking or detouring to Whistler or the Icefields Parkway.
Connectivity snapshot: - Cities (Seattle, Vancouver, Calgary): fast 5G is common. - Main corridors (I‑5, Hwy 1/5, Trans‑Canada): mostly LTE/5G with brief dead zones. - Parks and passes (Yoho/Banff, Rogers Pass, Kicking Horse): service is sparse; plan for offline maps.
For SIM options by country, browse Destinations.
Route at a glance (7–12 days)
1) Seattle (1–2 nights) - Explore: Pike Place, Ballard, ferry to Bainbridge. - Connectivity: Set up your plan before you land. If you’re starting stateside, a local Esim United States plan works well for day one. - Drive to Vancouver: 230 km / 145 miles (2.5–3.5 hrs). Add time for the Peace Arch border.
2) Vancouver (2–3 nights) - Explore: Stanley Park seawall, Granville Island, North Shore hikes. - Connectivity: If you want seamless data across the border without SIM swapping, activate Esim North America before you leave Seattle. It covers both the US and Canada and handles the hand‑off on arrival.
3) Optional detour: Sea‑to‑Sky to Whistler (add 1 night) - Drive: Vancouver to Whistler 120 km / 75 miles (1.5–2 hrs). Stunning views; spotty stretches near Britannia and between bays. - Return to Vancouver or continue inland via Highway 99/97 to rejoin the Trans‑Canada (adds time).
4) Vancouver to Kamloops or Salmon Arm (1 night) - Drive: 350–470 km / 220–290 miles (3.5–5.5 hrs) via Hwy 1 or Coquihalla (Hwy 5). - Tip: Coquihalla is faster but higher elevation; Hwy 1 is scenic through Hope and the Fraser Canyon.
5) Kamloops/Salmon Arm to Lake Louise/Banff (2–3 nights) - Drive: 420–500 km / 260–310 miles (4.5–6 hrs). - Explore: Lake Louise early morning, Moraine Lake shuttle, Banff Avenue, Bow Valley Parkway.
6) Banff to Calgary (1 night or fly out) - Drive: 125 km / 78 miles (1.25–1.75 hrs). - Explore: Inglewood eateries, Peace Bridge, National Music Centre. - Fly out of YYC or return car.
Planning more regions later in the year? Check our regional eSIMs for Europe, including Esim Western Europe, Esim France, Esim Italy, and Esim Spain.
Connectivity that “just works” across the border
The simplest choice: one plan for both countries
- Use Esim North America to cover the US and Canada in a single profile. It removes border‑day SIM swaps and auto‑selects partner networks on both sides.
- If you’ve already purchased a Esim United States plan for earlier legs, you can keep it active in Seattle and switch to a North America plan the night before you cross.
Pro tip: - Download and install your eSIM over Wi‑Fi before you travel. Most eSIM QR codes expire once scanned; install but keep mobile data “off” until you need it.
Roaming toggles and network selection: exactly what to tap
Crossing USA → Canada (Peace Arch or Pacific Highway): 1) Before you reach the border, open your phone’s mobile settings. 2) iPhone: Settings > Mobile Service > tap your North America eSIM > turn on Data Roaming. Android (Pixel/Samsung): Settings > Network & Internet / Connections > SIMs > toggle Roaming on for the eSIM. 3) Turn on Automatic network selection. 4) After you enter Canada, wait up to 2 minutes. Your status bar should show a Canadian partner network and data will resume.
Crossing Canada → USA (Banff/Calgary to Seattle return): 1) Keep Data Roaming on for the North America plan. 2) Toggle Airplane Mode on for 10 seconds then off after crossing; your device will reacquire a US network faster. 3) If signal sticks, manually select a network, then switch back to Automatic.
Avoid bill shock: - If you carry a physical SIM from home, set it to “Data Off/No Roaming” for the entire trip. Use only your eSIM for data.
Mountain coverage: what to expect and how to beat dead zones
- Expect “no service” pockets along the Coquihalla, Rogers Pass, Kicking Horse Canyon, and between Lake Louise and Banff on backroads.
- Multi‑carrier coverage helps: North America plans typically roam onto major networks in both countries, improving your odds of signal at the edge of coverage.
- In parks, even the best network can’t fill every valley. Rely on offline maps and downloaded media. Don’t plan critical uploads in the mountains; batch them for towns (Revelstoke, Golden, Canmore).
Practical workarounds: - Download Google Maps offline areas for WA, Lower Mainland BC, and Banff/Yoho. - Pre‑cache AllTrails routes, and take screenshots of shuttle times. - Queue photo backups for hotel Wi‑Fi to save data.
Set up a reliable car hotspot
Option A: Use your phone’s hotspot 1) Name your hotspot uniquely (avoid “iPhone”/“Galaxy”) and set a strong password. 2) Enable “Maximise Compatibility” (iOS) or 2.4 GHz sharing if other devices struggle to connect. 3) Plug your phone into the car’s USB to avoid battery drain; hotspots use more power than normal browsing. 4) Keep the hotspot device by a window for better signal; your passengers can tether to it.
Option B: Dedicated LTE router in the car 1) Insert an eSIM‑capable router or MiFi with your North America plan. 2) Mount it high on the window or dash; consider a small external antenna for mountainous stretches. 3) Share the SSID with travel companions so navigation, music and laptops connect automatically.
For families and small teams travelling in convoy, centralising connectivity through one plan can save money and admin; see For Business for pooled data options.
Practicalities: border, rentals, navigation and park passes
- Border documents: Carry passport and, if driving a rental, the rental agreement. Allow extra time at weekends and holidays; Peace Arch queues can add 30–90 minutes.
- Car rental across the border: Confirm US–Canada travel is permitted and add the free cross‑border note to your contract. Ensure roadside assistance covers both countries.
- Fuel and charging: Fuel is readily available on main routes; in remote stretches, top up by half‑tank. EVs can complete this route but plan fast‑charging stops (Vancouver, Hope, Merritt, Kamloops, Golden, Canmore, Calgary).
- Tolls: Seattle has selective toll facilities; Vancouver and Trans‑Canada segments on this route are toll‑free. No toll roads inside Banff, but you must display a valid Parks Canada pass when in the park.
- Navigation: Use a blend—online maps in cities and offline maps in parks. Save hotel addresses and emergency contacts to your notes app.
- Money: Tap‑to‑pay is universal in both countries. Dynamic currency conversion can be poor value; opt to pay in local currency.
If you’re a hotel, rental, or tour operator along this corridor and want to offer travellers pre‑loaded eSIMs or in‑car Wi‑Fi, our Partner Hub has integration options.
Day‑by‑day: a practical us canada road trip itinerary
Day 1–2: Seattle - Morning: Pike Place, waterfront loop. - Afternoon: Kerry Park viewpoint, Fremont/Wallingford. - Evening: Catch sunset at Alki Beach; pre‑install your eSIM and test hotspot on hotel Wi‑Fi. - Connectivity check: Verify your Esim United States or Esim North America plan, enable hotspot, download offline maps for WA and BC.
Day 3–5: Vancouver - Morning: Cycle Stanley Park seawall. - Afternoon: Capilano or Lynn Canyon; book timed entries if needed. - Evening: Sunset at Kitsilano or English Bay. - Connectivity check: Before border day, toggle roaming on (see steps above). In Vancouver, expect strong 5G—good time for backups and app updates.
Day 6: Vancouver to Kamloops/Salmon Arm - Stop: Hope for coffee, Bridal Veil Falls short walk. - Note: Expect patchy service on the Coquihalla; let travel companions know you may be offline for stretches. Keep the hotspot phone by the window.
Day 7–9: Lake Louise & Banff - Early start: Lake Louise before 7am to secure parking or shuttle. - Midday: Moraine Lake via official shuttle; offline tickets/screenshots help when coverage drops. - Evening: Banff town, Bow Falls, Vermilion Lakes. - Connectivity check: Download next‑day trail maps the night before. Signal improves around Lake Louise village and Canmore.
Day 10–11: Calgary - Morning: Check out from Banff, stop at Canmore for coffee. - Afternoon: Calgary sights (East Village Riverwalk, Studio Bell). - Departure: YYC has good airport Wi‑Fi; top up or extend your eSIM if returning via the US.
Budget and time‑saving tips
- Travel shoulder season (June or September) for easier parking in Banff and lower rates.
- Combine city groceries with park days; food costs rise in resort towns.
- Book accommodations with parking included in Seattle and Vancouver to avoid daily fees.
- Data plan sizing: Expect 1–2 GB/day if you stream maps, social, and music. With a hotspot for multiple devices, budget 3–5 GB/day. Download playlists and maps on Wi‑Fi to cut this in half.
Pre‑trip checklist
Documents and vehicle - Passport, driving licence, rental agreement with cross‑border permission. - Parks Canada pass (buy online to save time). - Tyre and weather check for mountain passes in season.
Connectivity - Install Esim North America and test on Wi‑Fi. - Set home SIM to “data off” for the trip. - Download offline maps for WA, BC, and Banff/Yoho. - Name and secure your hotspot SSID/password.
Safety and comfort - Power: 12V adaptor, cables for each device, portable battery. - Essentials: Water, snacks, paper map backup, basic first‑aid, headlamp. - Winter add‑ons: Warm layers, scraper, gloves, blanket.
FAQ
1) Do I need separate eSIMs for the USA and Canada? - No. For this route, a single Esim North America plan is the simplest option. If you already have a Esim United States plan, you can switch to a North America plan for Canada days.
2) Will I have data in the mountains? - Expect gaps. Major highways have good LTE/5G, but parks and passes have dead zones. Use multi‑network eSIMs, keep roaming on, and rely on offline maps between towns.
3) How do I avoid roaming charges on my home SIM? - Turn off Mobile Data and Data Roaming on your physical/home SIM, and use only your eSIM for data. Keep your home SIM enabled for calls/texts if needed, but ensure mobile data is off.
4) Can I work remotely on this trip? - In cities: yes, speeds are excellent. On the road and in parks: schedule around patchy coverage. Use a car hotspot and batch uploads in Vancouver, Kamloops, Canmore, and Calgary. Teams should consider shared data via For Business.
5) What data speed should I expect? - Cities: 100–500+ Mbps on 5G. Highways: 10–100 Mbps on LTE/5G. Mountains: variable, sometimes none. Plan critical calls for town stops.
6) I’m continuing to Europe after Calgary—what’s the easiest SIM plan? - For multi‑country coverage, see Esim Western Europe, or country plans like Esim France, Esim Italy and Esim Spain. Browse all options by region on Destinations.
Next step: Set up seamless coverage before you go. Grab your cross‑border plan here: Esim North America.


