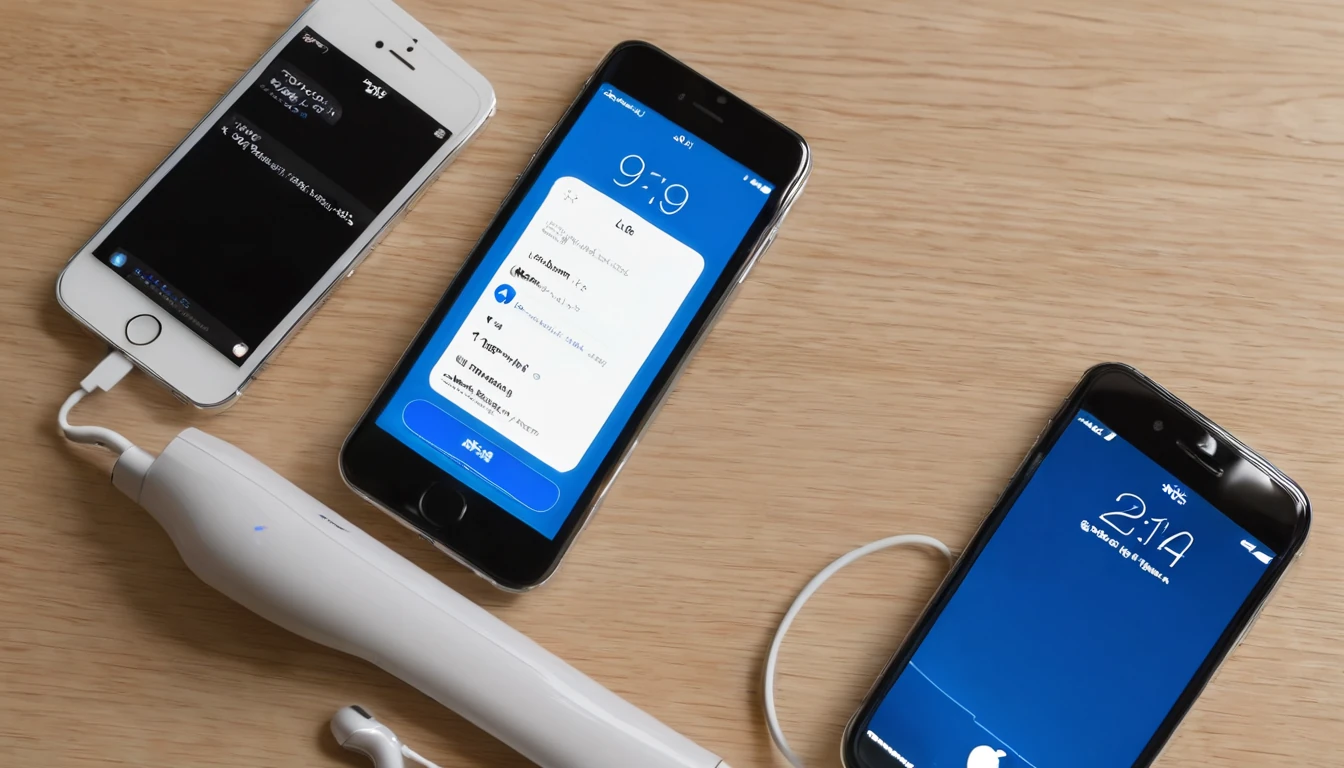
Moving to a new iPhone and want your mobile plan to come with you? If you use an eSIM, Apple’s eSIM Quick Transfer makes it fast to move your plan on‑device—no plastic SIM, no store visit. This guide explains the smoothest way to transfer your eSIM during setup or afterwards in Settings, plus what to do if Quick Transfer isn’t supported by your carrier. We’ll cover when to delete the old profile, how to check for carrier locks, and the small settings that keep travellers online abroad without bill shock.
Whether you’re switching right before a trip or juggling multiple travel eSIMs (for example, a Esim United States for a New York conference and an Esim Western Europe for a summer rail pass), follow these steps to keep service uninterrupted. If Quick Transfer isn’t available, you can still move your plan using a QR code or a reissued eSIM from your provider.
What you’ll need before you start
Run through this short checklist to avoid mid‑transfer snags:
- Compatible iPhones:
- iPhone XS/XR or later support eSIM. US models of iPhone 14 and later are eSIM‑only (no physical SIM tray).
- iOS up to date on both devices (ideally iOS 17 or later).
- Both phones charged (30%+), Wi‑Fi and Bluetooth turned on, and placed side‑by‑side.
- You know the device passcodes and Apple ID login (helps with Quick Start, though Apple ID is not strictly required for Quick Transfer in Settings).
- Old iPhone not erased and the eSIM profile still present.
- Carrier supports eSIM on both devices, and supports eSIM Quick Transfer. If not, use the QR/reissue route below.
- Unlocked phones if you plan to use international eSIMs:
- Check on each iPhone: Settings > General > About > Carrier Lock. “No SIM restrictions” means unlocked.
- If you’re travelling:
- Confirm your plan or travel eSIM is valid for your destination (browse Destinations, including Esim North America, Esim France, Esim Italy, or Esim Spain).
Pro tip: Never delete the eSIM from your old iPhone until the new phone shows a signal and data works. Deleting too early can strand your number and require a carrier reissue.
Option 1: Transfer your eSIM during new iPhone setup (Quick Start)
This is the cleanest approach when unboxing a new iPhone.
1) Power on the new iPhone and place it next to your old one.
2) On the old iPhone, tap Continue when the Quick Start prompt appears.
3) Scan the swirling animation on the new iPhone using the old iPhone’s camera.
4) Follow on‑screen steps until you reach “Transfer your mobile plan” or “Set up eSIM.”
5) Choose the line(s) to transfer. If you use multiple eSIMs (e.g., a primary number plus a travel data eSIM), you’ll see each line listed.
6) Approve on the old iPhone and wait while the plan moves to the new iPhone. Keep both devices unlocked and nearby.
7) When prompted, set your default line for Voice and Data, and label your lines (e.g., “Personal UK” and “Travel EU”).
8) Finish setup, then test: - Toggle Airplane Mode off, confirm bars appear. - Open a webpage to confirm mobile data. - If needed, enable Data Roaming for your travel eSIM (Settings > Mobile Data > your eSIM > Data Roaming).
Pro tips: - Travelling soon? Set your travel eSIM as “Mobile Data” and your home SIM as “Voice” to keep calls/SMS on your usual number while using local data abroad. - To avoid accidental roaming charges, keep Data Roaming off on your home line when abroad and only enable it on your travel eSIM.
Option 2: Transfer after setup (eSIM Quick Transfer in Settings)
If you’ve already finished setup, you can still move the eSIM on‑device.
1) On the new iPhone, go to: - Settings > Mobile Data (or Cellular) > Add eSIM. - Tap “Transfer From Nearby iPhone.”
2) On the old iPhone, confirm the transfer when prompted and select the line to move.
3) Wait for activation to complete on the new iPhone. Stay on Wi‑Fi and keep Bluetooth on.
4) Test calls/data as above. If your travel eSIM is for a region such as Esim Western Europe, toggle Data Roaming on only when you arrive in‑region.
5) Only after testing, remove the old eSIM profile from the old iPhone: - Settings > Mobile Data > tap the plan > Remove eSIM.
If “Transfer From Nearby iPhone” doesn’t appear or fails, your carrier may not support Quick Transfer. Use the QR/reissue method below.
Option 3: Use a QR code or eSIM reissue when Quick Transfer isn’t available
Use this when: - Your carrier doesn’t support Quick Transfer. - Your old iPhone is lost, stolen, or no longer turns on. - You’re switching between ecosystems (iPhone to Android, or vice versa).
How to proceed:
1) Request a new eSIM (reissue) from your carrier or eSIM provider. - They’ll send a fresh QR code or SM‑DP+ server and activation code. - Some providers charge a small replacement fee or require identity verification.
2) On the new iPhone, install the eSIM: - Settings > Mobile Data > Add eSIM > Use QR Code. - Scan the QR or tap “Enter Details Manually” to input the SM‑DP+ address and activation code.
3) Wait for activation, then test calls/data.
4) Once confirmed working on the new iPhone, remove the old eSIM from the old device if it’s still in your possession: - Settings > Mobile Data > select the plan > Remove eSIM.
Traveller note: If you’re lining up a trip, you can add a travel eSIM in advance, then toggle it on when you land. Browse regional options like Esim United States, Esim France, or Esim Spain under Destinations.
When should you delete the eSIM from your old iPhone?
Only delete after the new iPhone: - Shows signal bars for that line. - Can place/receive a call (if it’s a voice line). - Loads a web page on mobile data (if it’s a data line). - Roams correctly in your destination if you’re abroad.
Why this matters: Deleting early can sever the link to your number or data plan. If something goes wrong, you’ll need a reissue from your carrier, which can take time—annoying if you’re at an airport.
If you plan to trade‑in or sell the old iPhone: - Remove the eSIM, sign out of Apple ID, and erase all content only after confirming the line is active on the new device.
Configure your lines after transfer (recommended for travellers)
After the move, fine‑tune these settings:
- Labels:
- Settings > Mobile Data > each plan > Mobile Plan Label.
- Use clear names like “Home” and “Trip – Italy/France.”
- Default line and data line:
- Choose which line handles Voice and which handles Mobile Data.
- For trips, set your travel eSIM as the data line; keep home line for calls/SMS.
- Data Roaming:
- On for the travel eSIM, off for your home line when abroad.
- Network selection:
- If coverage is patchy, try manual network selection under your travel eSIM settings.
- Some regional plans (e.g., Esim Western Europe) roam across multiple partner networks—manual selection can help in fringe areas.
- Personal Hotspot:
- If you plan to tether laptops or tablets, ensure your plan supports it and toggle on. Useful for remote work trips—see For Business if you manage teams on the road.
Troubleshooting: common eSIM transfer errors
- “Transfer not supported by your carrier”
- Use the QR/reissue method. Contact your carrier or eSIM provider for a new activation code.
- “Cannot complete cellular plan change” or activation stalls
- Update iOS on both devices.
- Reboot both phones, keep them on Wi‑Fi, and retry.
- Check time/date are set automatically.
- Reset Network Settings (Settings > General > Transfer or Reset iPhone > Reset > Reset Network Settings), then try again.
- No signal after transfer
- Toggle Airplane Mode off/on.
- Ensure the plan is enabled in Settings > Mobile Data.
- For travel eSIMs, enable Data Roaming and check APN settings provided by your eSIM provider.
- Try manual network selection temporarily.
- eSIM missing after restoring from iCloud
- eSIMs are not included in iCloud or iTunes backups. You must transfer via Quick Transfer or reinstall via QR/reissue.
- Carrier lock blocks activation
- Check Carrier Lock status under Settings > General > About. If locked, the device may only accept that carrier’s eSIM. Request an unlock if eligible.
Business or multi‑device rollouts
If you deploy iPhones for teams, standardise your process:
- Keep devices on the latest iOS and confirm unlock status before travel.
- Maintain a secure record of eSIM QR codes/activation details for reissue scenarios.
- Train staff to transfer via Settings > Add eSIM > Transfer From Nearby iPhone.
- For recurring travel (events, rotations), consider regional packs such as Esim North America or Esim Western Europe. Explore centralised options via For Business and partner resources in the Partner Hub.
FAQs
- Can I transfer an eSIM if my old iPhone is dead or lost?
- Not via Quick Transfer. Ask your carrier or eSIM provider for a reissue/QR and activate it on the new iPhone.
- Does an iCloud backup move my eSIM?
- No. eSIMs are not included in backups. Use Quick Transfer or reinstall using a QR/activation code.
- Do I need the same Apple ID on both iPhones?
- No for Quick Transfer in Settings, but being signed in enables the smoother Quick Start flow during setup. You’ll still need both phones nearby and unlocked.
- Can I move an eSIM from iPhone to Android (or back)?
- There’s no cross‑platform “Quick Transfer.” You must remove/deactivate the old eSIM and install a new one on the other device using a QR/activation code from your provider.
- Will this work abroad without Wi‑Fi?
- The transfer needs local connectivity and Bluetooth; Wi‑Fi is strongly recommended. If you’re already travelling, use hotel or airport Wi‑Fi for a stable transfer.
- Which iPhones support eSIM?
- iPhone XS/XR and later. US iPhone 14 and newer are eSIM‑only. Check your carrier’s eSIM support and device unlock status before buying a travel eSIM.
Key takeaways
- Use Quick Start during setup or “Transfer From Nearby iPhone” in Settings for the fastest, no‑QR move.
- Don’t delete the old eSIM until the new iPhone is fully working on that line.
- If Quick Transfer isn’t supported or the old phone is unavailable, request a QR/reissue from your provider.
- Travellers should set the travel eSIM as the data line and keep Data Roaming off on the home line.
- Check device unlock status early to avoid surprises when buying regional eSIMs like Esim Italy or Esim United States.
Next step: Planning a trip? Pick the right regional plan now in Destinations.


