
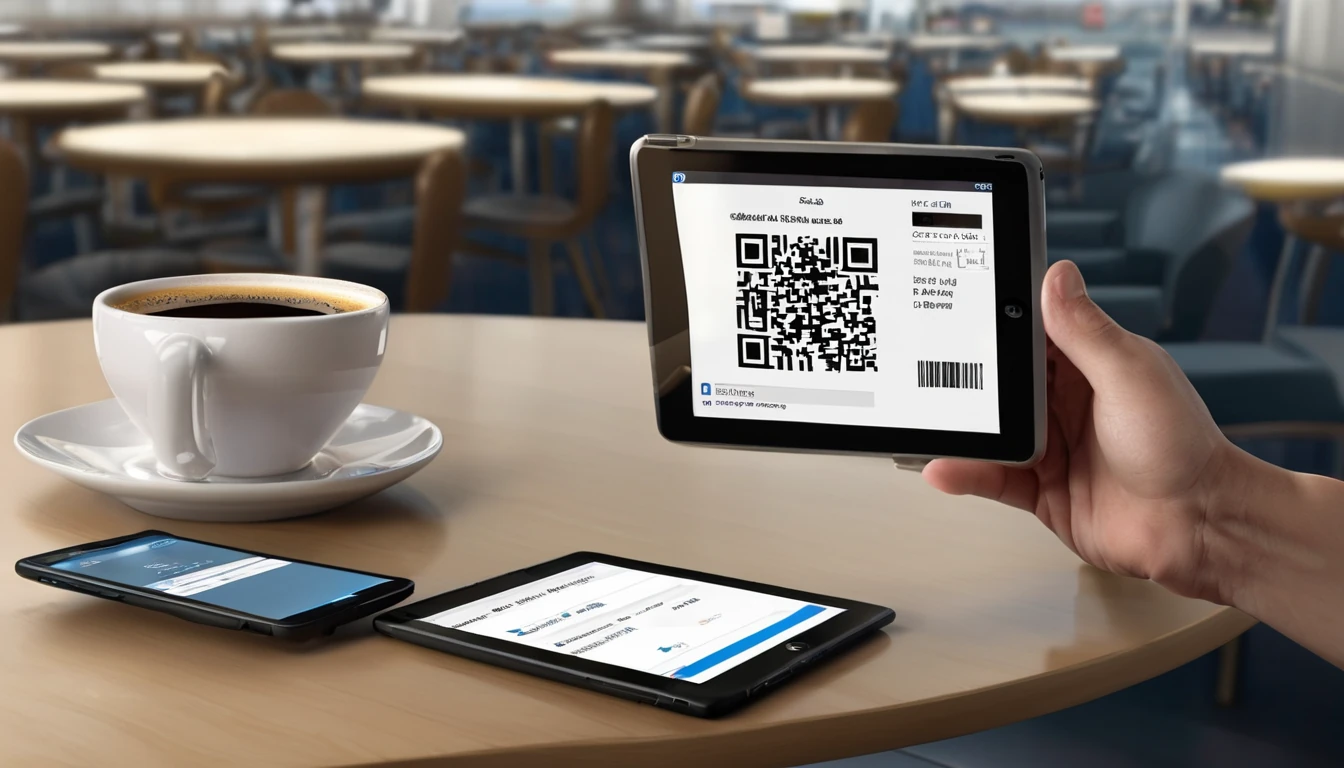
Which iPad Models Support eSIM?
Not every iPad has cellular capability, and not every cellular iPad supports eSIM — but the good news is that Apple has shipped eSIM in all Wi-Fi + Cellular iPad models since 2018, covering every current lineup. If your iPad was released in the last seven years, there's a very strong chance it's eSIM-ready.
Here's the full compatibility breakdown by product line:
iPad Pro
| Model | Release Year | eSIM Support |
|---|---|---|
| iPad Pro 11-inch (1st gen) | 2018 | ✅ Yes |
| iPad Pro 12.9-inch (3rd gen) | 2018 | ✅ Yes |
| iPad Pro 11-inch (2nd gen) | 2020 | ✅ Yes |
| iPad Pro 12.9-inch (4th gen) | 2020 | ✅ Yes |
| iPad Pro 11-inch (3rd gen) | 2021 | ✅ Yes |
| iPad Pro 12.9-inch (5th gen) | 2021 | ✅ Yes |
| iPad Pro 11-inch (4th gen) | 2022 | ✅ Yes |
| iPad Pro 12.9-inch (6th gen) | 2022 | ✅ Yes |
| iPad Pro 11-inch (M4) | 2024 | ✅ Yes |
| iPad Pro 13-inch (M4) | 2024 | ✅ Yes |
iPad Air
| Model | Release Year | eSIM Support |
|---|---|---|
| iPad Air (3rd gen) | 2019 | ✅ Yes |
| iPad Air (4th gen) | 2020 | ✅ Yes |
| iPad Air (5th gen) | 2022 | ✅ Yes |
| iPad Air 11-inch (M2) | 2024 | ✅ Yes |
| iPad Air 13-inch (M2) | 2024 | ✅ Yes |
iPad mini
| Model | Release Year | eSIM Support |
|---|---|---|
| iPad mini (5th gen) | 2019 | ✅ Yes |
| iPad mini (6th gen) | 2021 | ✅ Yes |
| iPad mini (7th gen, A17 Pro) | 2024 | ✅ Yes |
iPad (standard)
| Model | Release Year | eSIM Support |
|---|---|---|
| iPad (7th gen) | 2019 | ✅ Yes |
| iPad (8th gen) | 2020 | ✅ Yes |
| iPad (9th gen) | 2021 | ✅ Yes |
| iPad (10th gen) | 2022 | ✅ Yes |
Quick stat: According to Apple's device support pages, every Wi-Fi + Cellular iPad from 2018 onward ships with an embedded SIM (eSIM). That's more than a dozen models across four product lines — meaning the vast majority of iPads sold in the past seven years are eSIM-compatible.
Important caveat: Only the Wi-Fi + Cellular variant of each model includes eSIM. The Wi-Fi-only versions do not have any SIM hardware at all. When in doubt, check Settings → General → About — if you see an IMEI number, your iPad has cellular capability and almost certainly supports eSIM.
How Does eSIM Actually Work on an iPad?
An eSIM (embedded SIM) is a small chip soldered directly onto your iPad's logic board, replacing the need for a removable nano-SIM card. Instead of physically swapping plastic cards, you download a carrier profile digitally — a process that takes seconds. According to the GSMA, over 2.4 billion eSIM-capable devices were in use globally by end of 2024, and that number is projected to surpass 3.5 billion by 2026 as manufacturers phase out physical SIM trays entirely.
For travelers, this is transformative. Rather than hunting for a local SIM vendor at the airport or paying eye-watering international roaming rates, you can purchase and activate a local data plan before you even board your flight — then switch to it the moment you land.
One important distinction for iPad users: your iPad eSIM stores data only. Unlike an iPhone eSIM, it doesn't carry a voice or SMS plan. This means you're purely managing mobile data, which actually simplifies things — there's no phone number to worry about, just a data plan to activate.
What Do You Need Before Setting Up an iPad eSIM?
Getting your iPad eSIM ready is straightforward, but a few prerequisites will save you from frustration mid-setup.
Before you begin, make sure you have:
- A Wi-Fi + Cellular iPad (see the compatibility tables above)
- iPadOS 13 or later — older software versions may not support all eSIM features. Go to Settings → General → Software Update to check. As of 2026, iPadOS 18 is current.
- An active Wi-Fi connection for the initial eSIM download. You don't need cellular service to install the eSIM profile — that's the beauty of it.
- Your eSIM QR code or activation code from your provider. This is typically emailed to you immediately after purchase.
- Your Apple ID password, in case iPadOS prompts you to verify your identity during the process.
One thing many people overlook: if your iPad was purchased through a carrier and is still carrier-locked, you may not be able to activate a third-party eSIM. Check with your carrier or go to Settings → General → About → Carrier Lock. If it says "No SIM Restrictions," you're good to go.
How Do You Set Up an eSIM on Your iPad Step by Step?
Setting up an eSIM on your iPad takes under five minutes and requires no technical expertise. The process is nearly identical across all compatible models running iPadOS 13 and later.
Method 1: Scan a QR Code (Most Common)
This is the method used by most travel eSIM providers, including Simology. Your provider emails you a QR code after purchase.
- Open Settings on your iPad.
- Tap Cellular (or Mobile Data in some regional settings).
- Tap Add Cellular Plan.
- Your iPad's camera will open automatically. Point it at your QR code — hold it steady for a moment until the code is recognized.
- Tap Continue when the plan details appear on screen.
- Name your plan if prompted (e.g., "Europe Trip" or "Japan Data"). This is useful if you store multiple eSIMs.
- Tap Add Cellular Plan to confirm.
- Wait 15–30 seconds while the profile downloads and activates.
That's it. Your eSIM is now installed and ready to use.
Method 2: Enter a Code Manually
If you can't scan a QR code (for example, you're looking at the QR code on the same device), you can enter the activation details manually.
- Go to Settings → Cellular → Add Cellular Plan.
- Tap Enter Details Manually at the bottom of the screen.
- Enter the SM-DP+ Address and Activation Code provided by your carrier.
- Tap Next, then confirm to add the plan.
Method 3: Carrier App Activation
Some carriers offer direct in-app eSIM activation. If your provider has an app, you may be able to log in and push the eSIM profile directly to your device without a QR code. The steps vary by app, but the end result is the same.
How Do You Switch Between eSIM Plans on an iPad?
If you travel frequently, you'll likely accumulate multiple eSIM profiles on your iPad — one for your home country, one for Europe, one for Asia, and so on. Managing them is simple.
Your iPad can store multiple eSIM profiles but only activate one at a time. Think of it like a digital SIM card wallet: you keep them all, and choose which one is "in use" at any given moment.
To switch between plans:
- Go to Settings → Cellular.
- Under My Plans (or Stored Plans), you'll see all your installed eSIMs.
- Tap the plan you want to activate.
- Toggle Turn On This Line to enable it.
You can also rename plans for easier identification. Tap the plan name, then tap Cellular Plan Label to give it a custom name.
To delete an eSIM you no longer need:
- Go to Settings → Cellular → [Plan Name].
- Scroll down and tap Remove Cellular Plan.
- Confirm the deletion.
Warning: Once you delete an eSIM profile, it cannot be recovered unless your provider allows re-download. Most travel eSIM providers allow this, but check the terms before deleting.
What Are the Best Use Cases for an iPad eSIM While Traveling?
An iPad eSIM shines in specific travel scenarios where reliable, fast data matters most — and where fumbling with a physical SIM card would be impractical.
Top use cases:
- In-flight and airport productivity: Use cellular data at the gate or during layovers without relying on spotty airport Wi-Fi. If you're curious why airport signal can be unreliable, this breakdown of airport and underground coverage explains the physics behind signal drops.
- Remote work from cafés and co-working spaces: A cellular iPad means you're not dependent on venue Wi-Fi, which can be slow, blocked, or require registration.
- Navigation and maps: Download offline maps as a backup, but use live cellular data for real-time traffic, transit directions, and location search.
- Video calls home: FaceTime, WhatsApp, and Zoom work beautifully over a solid LTE or 5G connection.
- Hotspot sharing: Your iPad can share its eSIM data as a Personal Hotspot to other devices — useful if your travel companion's phone runs out of data.
For international trips, pairing your iPad with a travel eSIM from a provider like Simology means you can activate a local data plan for destinations across Europe, Asia, or the Americas before you even leave home — no airport SIM hunt required.
How Much Does an iPad eSIM Cost for International Travel?
Travel eSIM pricing has become increasingly competitive in 2026, with most providers offering regional plans that cover multiple countries under a single data allowance. Here's a realistic picture of what you can expect to pay.
Typical price ranges for travel eSIMs (2026):
- Single-country plans: $5–$15 for 1–5 GB over 7–30 days, depending on destination
- Regional plans (e.g., all of Europe or Southeast Asia): $12–$35 for 5–20 GB over 30 days
- Global plans (100+ countries): $20–$60 for 5–15 GB over 30 days
For context, traditional carrier roaming can cost $10–$15 per day just to use your existing plan abroad — and that's before any data overage fees. A travel eSIM for a two-week Europe trip can cost the same as a single day of carrier roaming.
The European Commission's roaming regulations cap intra-EU roaming at €2.00 per GB for operators selling outside the EU's "Roam Like at Home" zone (as of 2022 rules, updated 2026). But even at regulated rates, a dedicated travel eSIM is almost always cheaper and more flexible.
Factors that affect price:
- Destination (developed markets like Japan or Germany tend to have cheaper data rates than some emerging markets)
- Data volume (larger bundles have lower cost-per-GB)
- Validity period (longer plans spread cost over more days)
- Network generation (5G plans may carry a small premium)
iPad eSIM vs. iPhone eSIM: What's Different?
Both devices support eSIM, but there are meaningful differences in how the feature works that travelers should understand.
| Feature | iPad eSIM | iPhone eSIM |
|---|---|---|
| Voice calls | ❌ Not supported | ✅ Supported |
| SMS/text messages | ❌ Not supported | ✅ Supported |
| Mobile data | ✅ Supported | ✅ Supported |
| Personal Hotspot | ✅ Supported | ✅ Supported |
| Dual SIM (two active plans) | ❌ One at a time | ✅ Dual SIM on iPhone 13+ |
| Number of stored eSIMs | Multiple | Multiple (up to ~8 on recent models) |
| eSIM-only (no physical SIM) | Most models still have nano-SIM slot | iPhone 14+ (US models) are eSIM-only |
The biggest practical difference: your iPad eSIM is data-only. This is actually fine for most travel use cases — you're using your iPad for maps, browsing, streaming, and video calls, not for receiving SMS verification codes or phone calls. Those still go through your iPhone.
If you're traveling with both an iPad and an iPhone, you can run the same travel eSIM provider's plan on both devices (purchased separately), or use your iPad as a hotspot fed by your iPhone's eSIM. Either approach works well.
What Should You Do If Your iPad eSIM Isn't Working?
eSIM setup is generally smooth, but a handful of issues come up repeatedly. Here's how to diagnose and fix them quickly.
Problem: QR code won't scan
- Make sure you're scanning the QR code from a different screen (print it out, or view it on another device). iPadOS won't scan a QR code displayed on the same device.
- Ensure your camera lens is clean and you're in good lighting.
- Try the manual entry method as a fallback.
Problem: "Could not activate cellular data network" error
- Wait 5 minutes and try again — sometimes the carrier's provisioning server needs a moment.
- Toggle Airplane Mode on and off (Settings → Airplane Mode).
- Restart your iPad.
- Confirm your eSIM plan is active with your provider (log into their app or website).
Problem: eSIM shows as active but no data connection
- Go to Settings → Cellular → [Your Plan] and confirm Data Roaming is turned on if you're in a foreign country.
- Check that Cellular Data is enabled for the apps you're trying to use (Settings → Cellular → scroll down to app list).
- Try manually selecting a network: Settings → Cellular → Network Selection → turn off Automatic, then select a network manually.
Problem: eSIM plan disappeared after iPadOS update
- This is rare but can happen. Contact your eSIM provider — most can re-issue the activation QR code at no charge.
Problem: iPad says "SIM Not Supported" or "Carrier Locked"
- Your device may be locked to a specific carrier. Contact your home carrier to request an unlock, or check if your iPad is still within a contract period that restricts unlocking.
If you're dealing with a lost or stolen device situation on top of connectivity issues, this step-by-step playbook for lost or stolen phones abroad covers how to protect your eSIM profiles and remote-wipe your device safely.
Does Your iPad Need to Be Unlocked to Use a Travel eSIM?
Yes — your iPad must be carrier-unlocked to use a third-party eSIM, including travel eSIMs. This is one of the most commonly overlooked requirements, especially for iPads purchased through a carrier on a payment plan.
How to check if your iPad is unlocked:
- Go to Settings → General → About.
- Scroll down to Carrier Lock.
- If it says "No SIM Restrictions", your iPad is unlocked and you can use any eSIM.
- If it shows a specific carrier name, your device is locked.
How to unlock your iPad:
- Contact your carrier directly. In most markets, carriers are required to unlock devices once they're fully paid off or the contract term has ended.
- In the US, the FCC has guidelines requiring carriers to unlock devices upon request after contract completion.
- Processing time varies: some carriers unlock within hours, others take up to 5 business days.
If you bought your iPad outright (not on a payment plan), it's almost certainly already unlocked.
Traveling to Specific Destinations: Which eSIM Plan Should You Choose?
The right eSIM plan depends heavily on where you're going. A single-country plan makes sense for a focused trip; a regional plan is better value if you're hopping between countries.
Popular destination guides to help you choose:
- Japan: 5G coverage is excellent in cities. A Japan-specific plan is usually the best value for a focused trip. Browse Japan eSIM options to compare data sizes and validity periods.
- Australia: Coverage in cities is strong, but rural areas can have gaps. A generous data plan (5 GB+) is wise for road trips. See Australia eSIM plans.
- Europe multi-country: A regional Western Europe plan typically covers 30–40 countries under one data pool, making it far more practical than buying per-country. Check Western Europe eSIM plans.
- Southeast Asia: Countries like Thailand, Vietnam, and Indonesia each have their own networks. A regional Asia plan covers most of them. Explore Asia eSIM options.
Tips for choosing the right plan size:
- Light use (maps, messaging, occasional email): 1–3 GB per week
- Moderate use (social media, video calls, streaming music): 3–7 GB per week
- Heavy use (video streaming, remote work, hotspot sharing): 7–15 GB+ per week
FAQ
Does every iPad support eSIM?
No — only iPad models with Wi-Fi + Cellular capability support eSIM, and only those released from 2018 onward. Wi-Fi-only iPads have no SIM hardware at all. The compatible lineup includes iPad Pro (3rd gen+), iPad Air (3rd gen+), iPad mini (5th gen+), and iPad (7th gen+). Check Settings → General → About for an IMEI number to confirm your model has cellular capability.
Can I use an eSIM on my iPad while traveling internationally?
Yes, and this is one of the best use cases for iPad eSIM. Purchase a travel eSIM from a provider like Simology before your trip, activate it via QR code, and you'll have local data rates the moment you land. Just make sure Data Roaming is enabled in Settings → Cellular if you're in a foreign country.
How many eSIM profiles can I store on my iPad?
iPadOS allows you to store multiple eSIM profiles simultaneously, though only one can be active at a time. Apple hasn't published a hard limit, but in practice most users store 5–10 profiles without issues. You can switch between stored plans at any time in Settings → Cellular.
Will my iPad eSIM work for phone calls and texts?
No. iPad eSIMs are data-only — they do not support voice calls or SMS. This is a hardware and carrier limitation, not a software one. For calls and texts, you'll still need your iPhone or another device. That said, VoIP apps like FaceTime, WhatsApp, and Zoom work perfectly over an iPad's eSIM data connection.
Do I need Wi-Fi to activate my iPad eSIM?
Yes, you need a Wi-Fi connection to initially download and install the eSIM profile. Once the profile is installed, you no longer need Wi-Fi — the eSIM provides its own cellular data connection. This is why it's smart to activate your travel eSIM at home before your trip, rather than scrambling for airport Wi-Fi on arrival.
What happens to my eSIM if I update iPadOS?
In most cases, eSIM profiles survive iPadOS updates without any issues. Occasionally, a major update can cause a profile to become inactive — if this happens, go to Settings → Cellular → Add Cellular Plan and re-download the profile, or contact your provider for a fresh activation code. Most providers can re-issue this at no charge.
Can I use my iPad as a hotspot with a travel eSIM?
Yes. As long as your eSIM plan allows hotspot or tethering (most travel eSIM plans do), you can enable Personal Hotspot on your iPad and share the data connection with your laptop, another phone, or other devices. Go to Settings → Personal Hotspot to enable it. Keep in mind this will consume your data allowance faster, so factor this into your plan size decision.
Is it safe to delete an eSIM profile from my iPad?
Deleting an eSIM profile is permanent — the profile is removed from your device and cannot be recovered locally. However, most travel eSIM providers store your profile on their servers and can re-issue an activation QR code if needed. Before deleting, confirm with your provider that re-download is possible, especially if your plan still has unused data.
The Bottom Line: iPad eSIM Is a Travel Game-Changer
Setting up an eSIM on your iPad is one of the simplest and most impactful things you can do before an international trip. In five minutes and a few taps, you go from "hoping the airport Wi-Fi works" to having a reliable, local-rate data connection waiting for you the moment you land.
The key takeaways:
- Compatibility is broad: Every Wi-Fi + Cellular iPad from 2018 onward supports eSIM — that's every current model across all four product lines.
- Setup is genuinely easy: Scan a QR code, tap confirm, done. No SIM tools, no carrier stores, no waiting.
- Multiple profiles, one active at a time: Store plans for every destination you visit; switch between them in seconds.
- Data-only, but that's enough: Maps, messaging, video calls, remote work — your iPad covers all of it over eSIM.
- Unlock first: If your iPad was carrier-purchased, verify it's unlocked before buying a travel eSIM.
Whether you're heading to Japan for cherry blossom season, island-hopping through the Caribbean, or working remotely across Europe for a month, a travel eSIM on your iPad means one less thing to worry about. Pick your destination, choose a plan, and travel connected.