Cara Mengatur eSIM Simology Anda: Panduan Langkah demi Langkah untuk Pemula

Mengatur eSIM mungkin terlihat menakutkan jika Anda belum pernah menggunakannya sebelumnya, tetapi dengan panduan yang tepat, itu ternyata cukup sederhana dan langsung. Dengan eSIM Simology, Anda dapat mengakses data seluler di lebih dari 175 tujuan di seluruh dunia, menjadikannya solusi yang sempurna untuk tetap terhubung selama perjalanan Anda.
Apakah Anda baru dalam teknologi eSIM atau hanya memerlukan penyegaran, panduan langkah demi langkah ini akan memandu Anda melalui proses instalasi dan aktivasi eSIM Simology Anda di perangkat Anda. Ikuti langkah-langkah ini untuk memastikan Anda siap menikmati konektivitas yang lancar dari saat Anda tiba di tujuan Anda.
Apa itu eSIM?
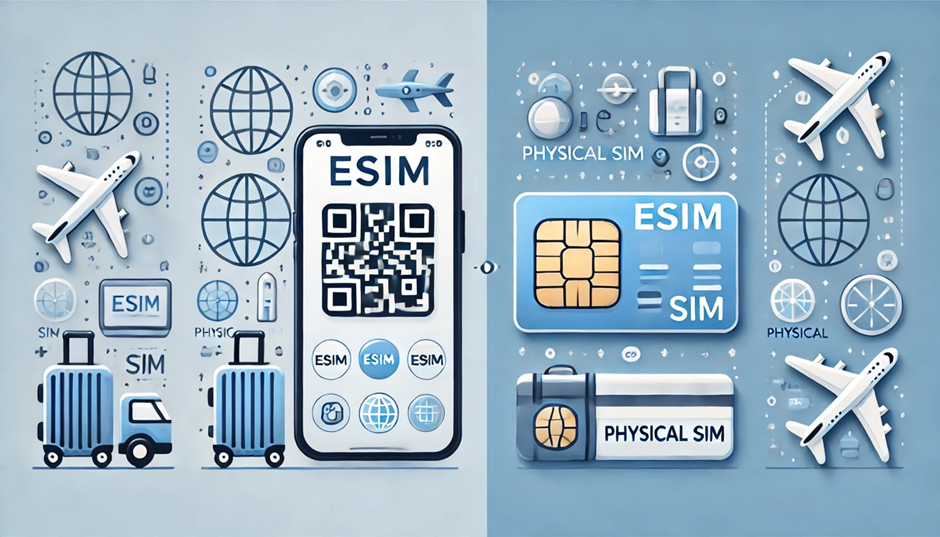
eSIM, singkatan dari Embedded SIM, adalah kartu SIM digital yang terintegrasi ke dalam perangkat Anda. Berbeda dengan kartu SIM fisik tradisional yang perlu Anda masukkan dan ganti, eSIM dapat diaktifkan dan dikelola melalui pengaturan perangkat lunak di perangkat Anda. Ini memungkinkan Anda terhubung ke jaringan seluler tanpa kerepotan menangani kartu SIM fisik.
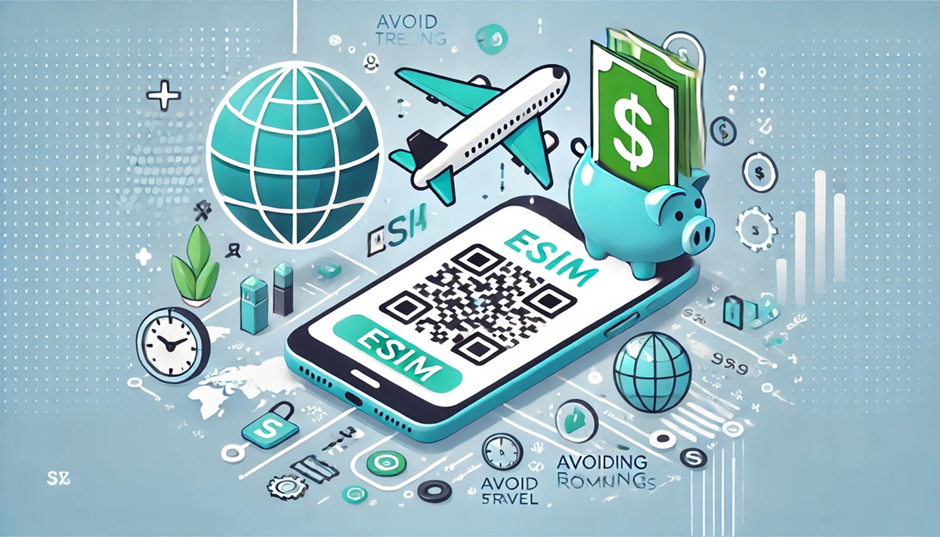
Dengan eSIM Simology, Anda dapat membeli paket data lokal atau regional, mengaktifkannya sebelum atau selama perjalanan Anda, dan menikmati konektivitas seluler tanpa biaya tinggi untuk roaming atau ketidaknyamanan membeli kartu SIM lokal.
Sebelum Anda Memulai: Periksa Kecocokan
Sebelum mengatur eSIM Simology Anda, penting untuk memastikan bahwa perangkat Anda kompatibel dengan teknologi eSIM. Sebagian besar smartphone dan tablet terbaru mendukung eSIM, tetapi selalu merupakan ide yang baik untuk memeriksanya kembali.
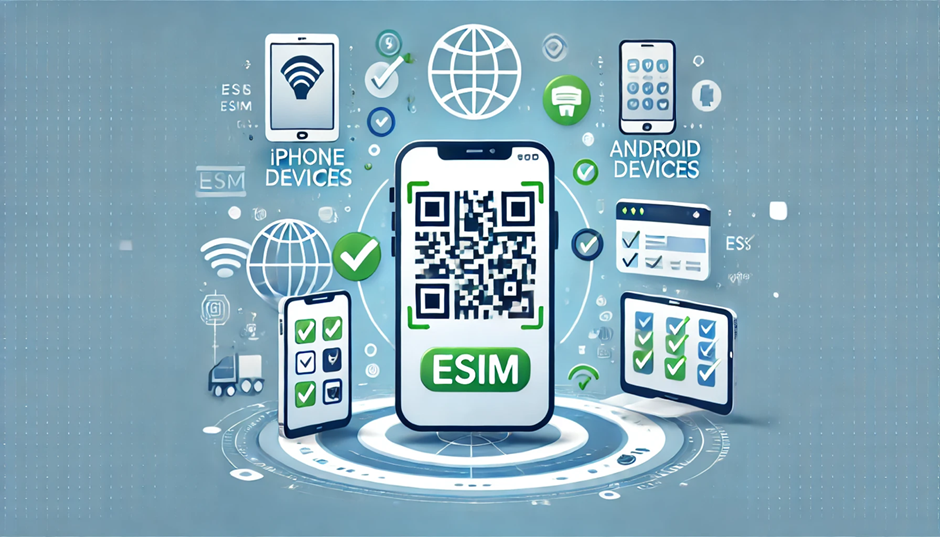
Bagaimana Cara Memeriksa Jika Perangkat Anda Mendukung eSIM:
1. Untuk Perangkat iOS:
- Buka Pengaturan > Seluler > Tambah Paket Seluler.
- Jika Anda melihat opsi untuk menambah paket, perangkat Anda kompatibel dengan eSIM.
2. Untuk Perangkat Android:
- Buka Pengaturan > Jaringan & Internet > Jaringan Seluler > Lanjutan > Operator.
- Jika Anda melihat opsi untuk menambah paket atau memindai kode QR, perangkat Anda mendukung eSIM.
Jika perangkat Anda kompatibel, Anda sudah siap untuk melanjutkan pengaturan eSIM.
Panduan Langkah demi Langkah untuk Mengatur eSIM Simology Anda
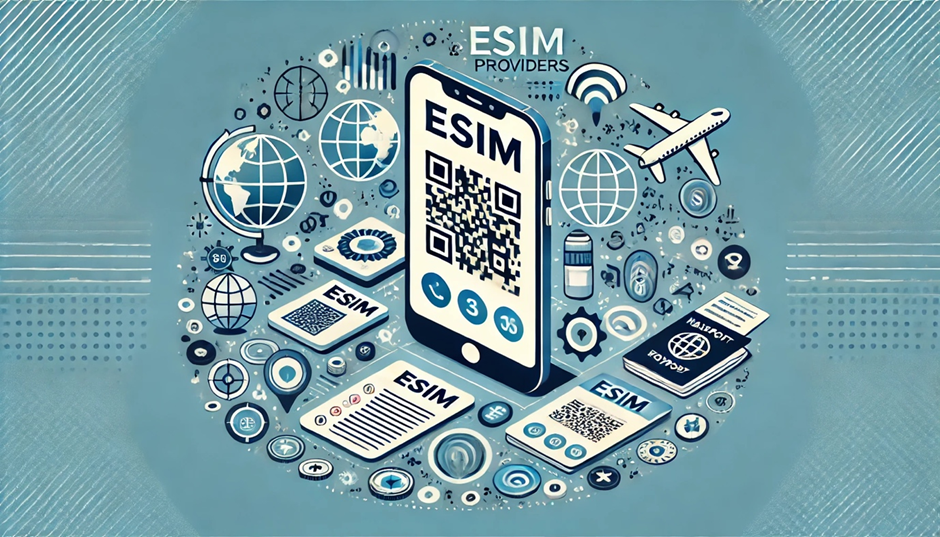
Langkah 1: Beli Paket eSIM Simology
- Kunjungi situs web Simology dan pilih paket data yang sesuai dengan kebutuhan perjalanan Anda. Simology menawarkan berbagai paket berdasarkan tujuan dan kuota data.
- Selesaikan proses pembelian, dan Anda akan menerima email dengan detail aktivasi eSIM Anda, termasuk kode QR yang unik.
Langkah 2: Siapkan Perangkat Anda untuk Aktivasi eSIM
- Pastikan Perangkat Anda Terhubung ke Wi-Fi: Ini diperlukan untuk mengunduh profil eSIM.
- Cadangkan Perangkat Anda: Selalu merupakan ide yang baik untuk mencadangkan perangkat Anda sebelum melakukan perubahan pada pengaturan jaringan Anda.
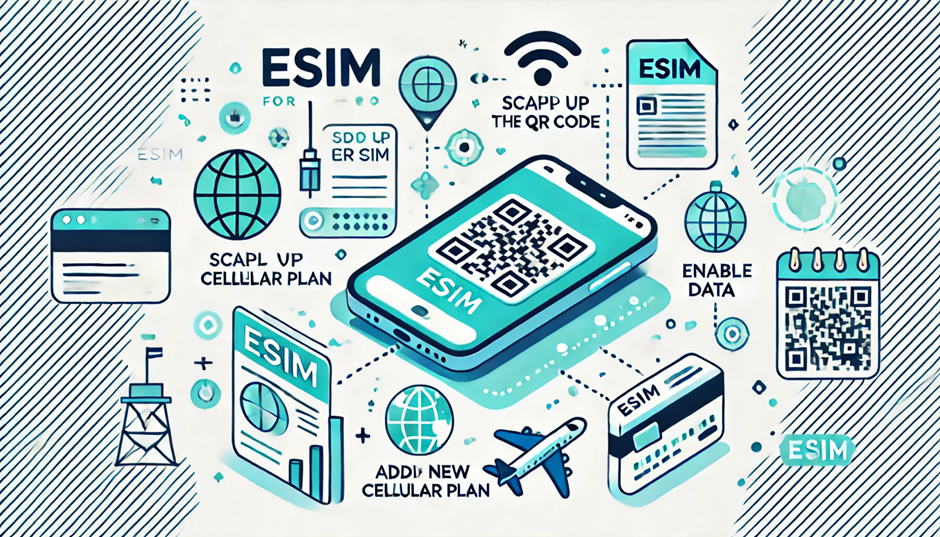
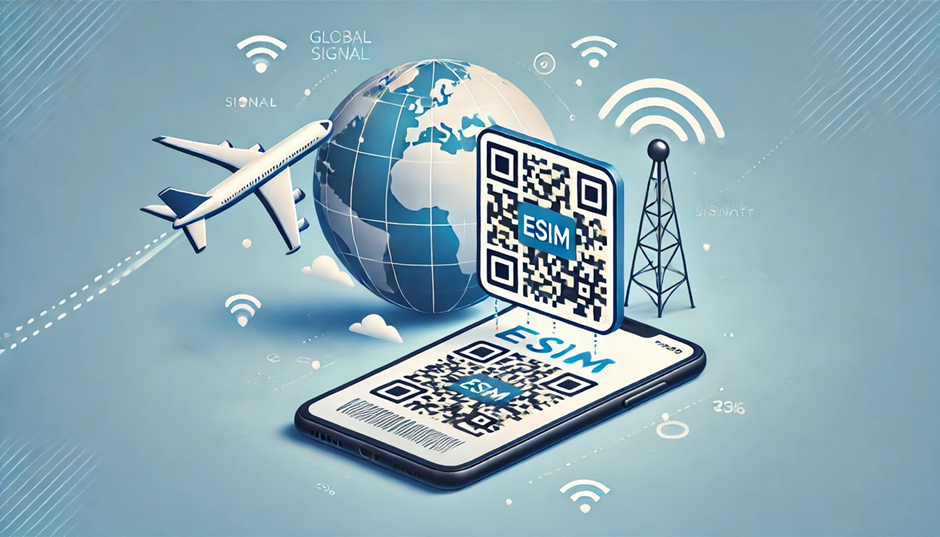
Langkah 3: Pindai Kode QR untuk Menginstal Profil eSIM
- Buka Pengaturan perangkat Anda.
- Navigasikan ke Seluler (untuk iOS) atau Jaringan & Internet (untuk Android).
- Pilih Tambah Paket Seluler atau Tambah eSIM.
- Gunakan kamera perangkat Anda untuk memindai kode QR yang diberikan oleh Simology dalam email aktivasi.
- Ikuti petunjuk di layar untuk menginstal profil eSIM.
Langkah 4: Konfigurasikan Pengaturan eSIM Anda
Setelah profil eSIM diinstal, Anda mungkin perlu mengonfigurasi beberapa pengaturan:
- Label eSIM Anda: Anda dapat memberi label eSIM Anda sebagai "Simology" untuk membedakannya dari profil SIM lainnya di perangkat Anda.
- Tetapkan sebagai Jalur Data Default: Pilih eSIM Simology sebagai jalur data default Anda untuk menggunakannya untuk data seluler.
- Aktifkan Roaming Data: Untuk perjalanan internasional, pastikan untuk mengaktifkan Roaming Data untuk jalur eSIM Anda agar dapat mengakses jaringan lokal.
Langkah 5: Aktifkan dan Sambungkan
Setelah mengonfigurasi pengaturan Anda, aktifkan jalur eSIM Simology di perangkat Anda. Anda sekarang harus terhubung ke jaringan lokal, siap untuk menggunakan data tanpa gangguan.
Memecahkan Masalah Umum eSIM
Jika Anda mengalami masalah selama proses pengaturan, berikut adalah beberapa solusi umum:
- Tidak Ada Layanan atau Sinyal Lemah: Pastikan bahwa jalur eSIM diaktifkan dan diatur sebagai jalur data utama. Pergi ke Pengaturan > Seluler/Data Seluler dan konfirmasi bahwa eSIM Simology diaktifkan.
- eSIM Tidak Terdeteksi: Restart perangkat Anda dan coba pindai kode QR lagi. Jika masalah berlanjut, hubungi tim dukungan Simology untuk bantuan.
- Tidak Dapat Terhubung ke Internet: Periksa bahwa Roaming Data diaktifkan dalam pengaturan eSIM Anda. Jika Anda berada di daerah terpencil, pastikan bahwa cakupan jaringan kuat.
Bagaimana Cara Beralih Antara SIM Reguler dan eSIM Anda
Salah satu manfaat menggunakan eSIM adalah Anda dapat beralih antara SIM reguler dan profil eSIM tanpa harus fisik mengganti kartu SIM. Berikut cara melakukannya:
- Buka Pengaturan > Seluler/Data Seluler.
- Pilih Jalur Suara Default dan pilih SIM mana yang ingin Anda gunakan untuk panggilan.
- Pilih Jalur Data Default dan pilih SIM mana yang ingin Anda gunakan untuk data seluler.
FAQ tentang Mengatur eSIM Simology
1. Bisakah saya menggunakan SIM reguler dan eSIM Simology secara bersamaan?
Ya, Anda dapat menggunakan kedua SIM secara bersamaan jika perangkat Anda mendukung fungsi SIM ganda. Ini memungkinkan Anda menggunakan SIM reguler untuk panggilan dan pesan sementara menggunakan eSIM untuk data.
2. Apakah saya akan kehilangan kontak dan pengaturan yang ada?
Tidak, menginstal eSIM tidak akan memengaruhi kontak atau pengaturan ponsel Anda. Itu hanya menambah profil baru ke pengaturan seluler perangkat Anda.
3. Bisakah saya menghapus eSIM setelah perjalanan saya?
Ya, Anda dapat menghapus profil eSIM dari perangkat Anda jika sudah tidak membutuhkannya. Buka Pengaturan > Seluler/Data Seluler dan pilih profil eSIM, lalu pilih Hapus Paket Seluler.
Pikiran Akhir: Nikmati Konektivitas yang Lancar dengan eSIM Simology
Mengatur eSIM Simology adalah cepat dan mudah, bahkan untuk pemula. Dengan hanya beberapa langkah sederhana, Anda dapat menikmati data seluler yang dapat diandalkan di lebih dari 175 tujuan di seluruh dunia, tanpa kerepotan dengan kartu SIM fisik atau biaya roaming yang mahal. Apakah Anda bepergian untuk bisnis atau rekreasi, solusi eSIM Simology memberikan fleksibilitas, kenyamanan, dan penghematan biaya yang Anda butuhkan.
Siap untuk memulai? Kunjungi situs web Simology untuk menjelajahi paket eSIM kami dan atur eSIM Anda hari ini!

Previous

Comments (3)
Amanda Lee
September 25, 2024 • 1 min readThe article on eSIM vs traditional SIM cards really helped me understand which one suits my needs. Thank you for the detailed breakdown!
James Carter
August 30, 2024 • 1 min readGreat insights on how eSIM simplifies international travel! I’m planning a trip soon and will definitely be using this technology.
Sophia Roberts
September 1, 2024 • 1 min readSame here! I’ve already used eSIM during my recent trip, and it was super convenient. Highly recommend it!
William Brown
July 18, 2024 • 1 min readI found the information about the environmental impact of eSIM quite eye-opening. We definitely need more tech that contributes to sustainability!